How to make a PVC portable radio stand
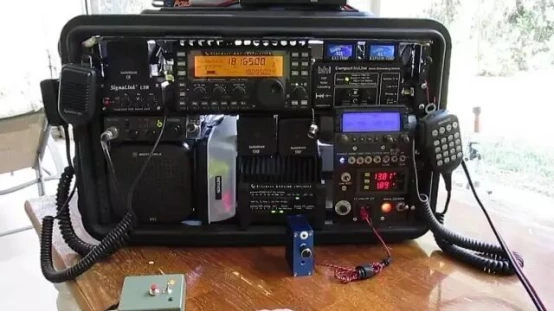
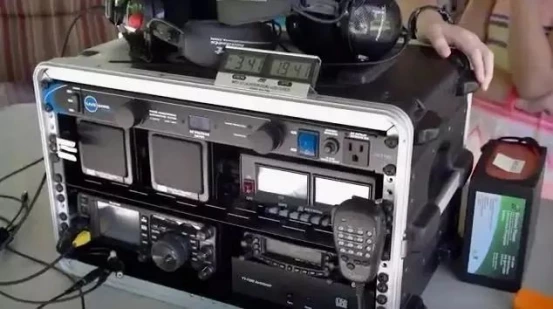
We have introduced quite a few ham go boxes before. As the name suggests, they are portable setups that allow you to carry a full set of radio equipment around the world—such as the complete electronic communication deployment center shown in the figure below.
This type of GO BOX includes a digital mode radio, weather fax (WEFAX), and citizens' band (CB), which can be used to communicate with truck drivers about road conditions (accidents, floods, fires, etc.). The Signalink USB is used for digital communication and features a quick-release for external modules. The Kenwood TM-V7 UHF and VHF radio can also be used as a repeater. Additionally, it can accommodate a Yaesu FT-857D transceiver, along with an LDG Z-100 Plus automatic antenna tuner, Tigertronics SignalLink USB, SDRplay RSP2, Buddipole POWERmini charging controller, and Bioenno Power 30 AH LiFePO4 battery.
# Of course, such products are not cheap. Today, let's take a look at a portable radio protective frame DIYed by a ham themselves.
Some ideas about "radio racks" put forward by a number of amateur radio enthusiasts.
I particularly like the model made of PVC pipes: Therefore, I decided to make a "radio rack" built with PVC pipes.
During the entire installation process, I need to organize some equipment placed on the bench so that I can have more space and still move everything at once without having to list items one by one (radio, signal source, SWR analyzer, antenna, wires, ...).
Step 1: Pipes and more pipes...
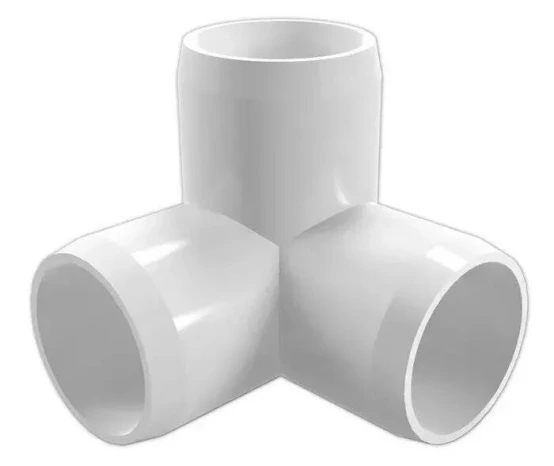
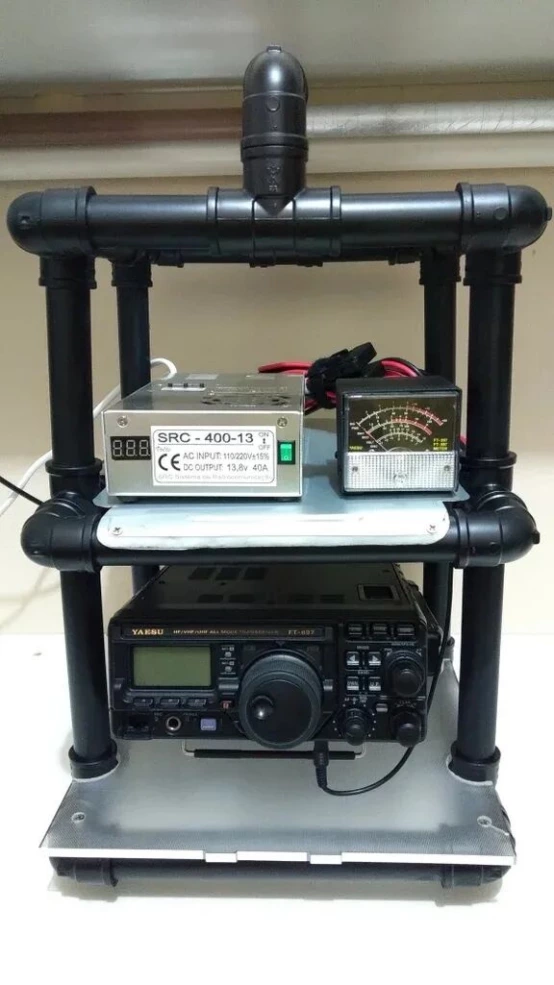
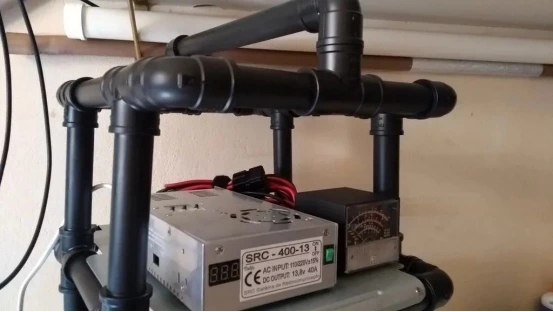
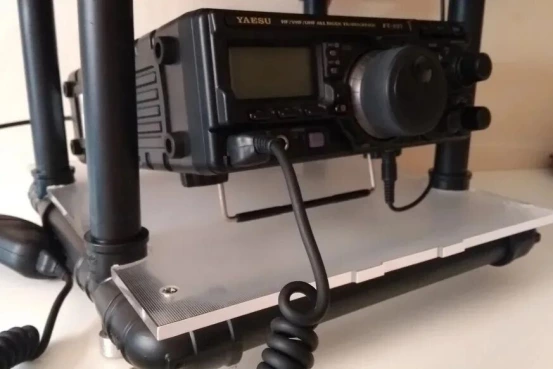
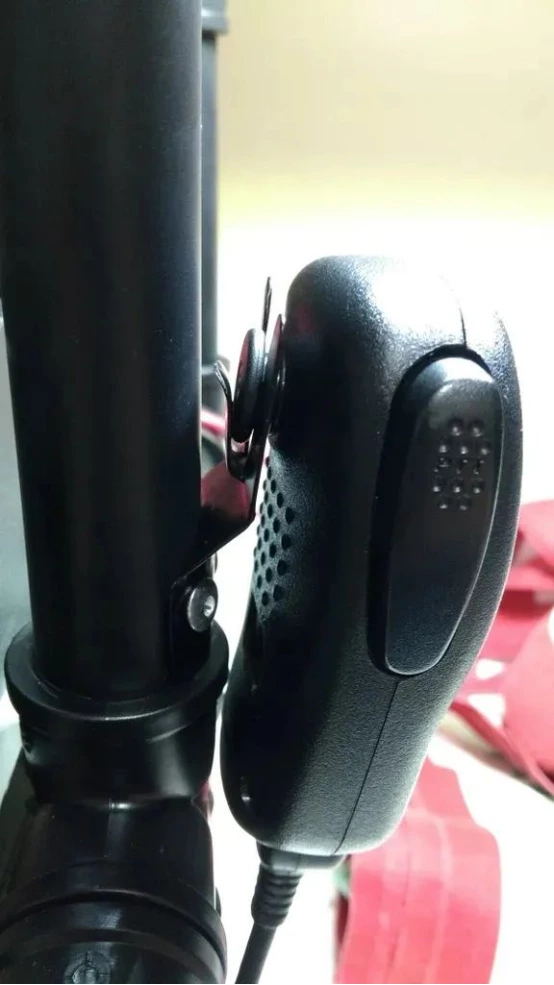
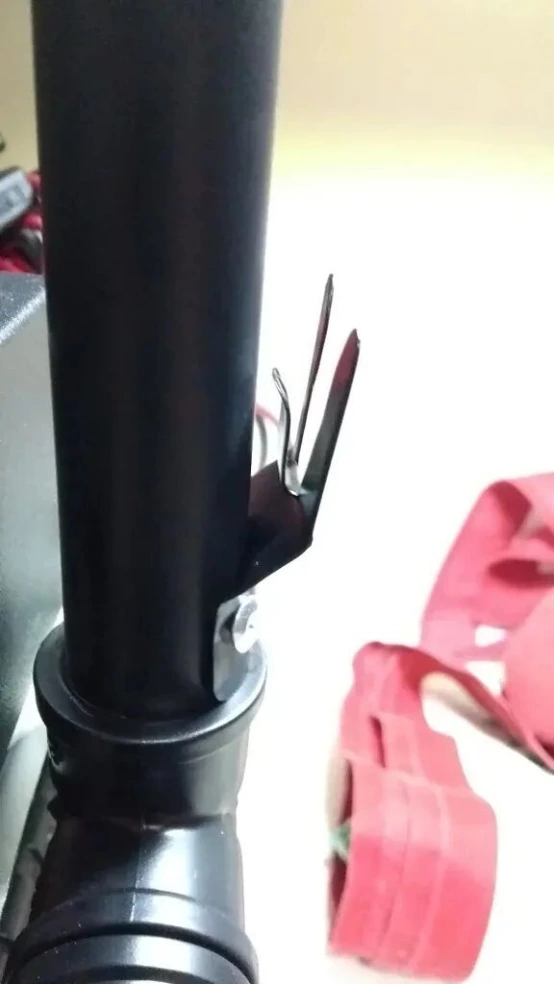
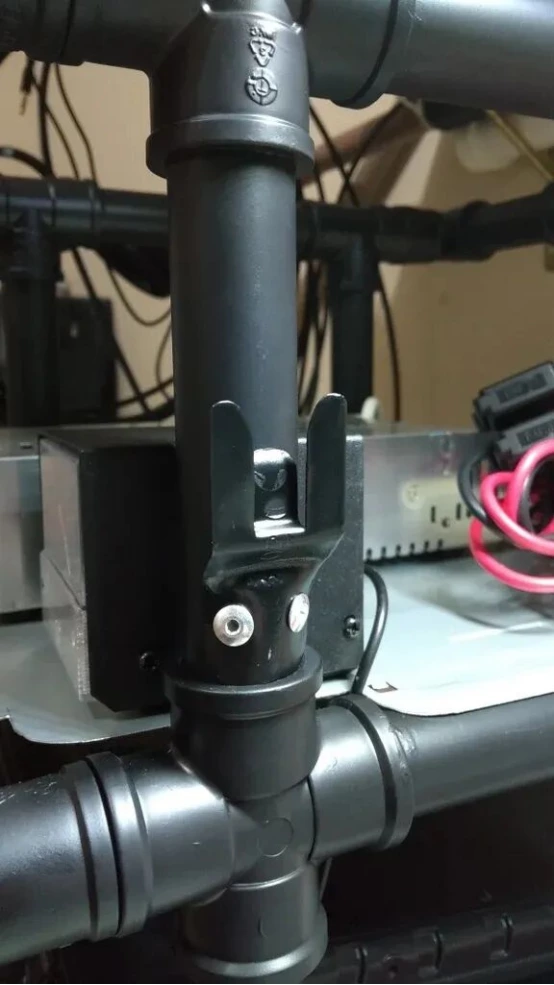
# Using a simple 90° elbow and a cross fitting (a pipe with four ports), I made a model that meets my requirements: it protects the two knobs on the front of the radio (I have a Yaesu FT897D) and keeps the antenna output at the back.
Step 2: Bill of Materials
This project uses 25mm weldable PVC pipes and fittings, which I found to be inexpensive.
I bought a 6-meter-long pipe because it was cheaper, and in the end, only 4.5 meters were used (the rest is for supporting the antenna...).
Note: My initial plan was to use pipes and 20mm connections for everything, but when I picked up the pipes, I found that the structure was very weak in supporting weight and would likely be "flimsy". Therefore, I changed the project to use 25mm pipes (thank goodness, as everything turned out very sturdy).
In total, including the cost of connections, pipes, glue, and spray paint, I spent approximately 70 Brazilian Reals. The most expensive items were the pipe (6m), the glue, and the cross fittings.
For the base, I used parts from two damaged LCD monitors: the metal back cover and the bottom part of the screen, which is actually a piece of acrylic with dimensions 34cm X 28cm X 6mm.
Below is the list of materials used in the project:
Fittings:
14 x 90° elbows (2 ports)
10 x Ts (3 ports)
4 x cross fittings (4 ports)
Pipes:
4 x 23 cm
4 x 18 cm
4 x 14 cm
4 x 9.5 cm
6 x 15 cm
1 x 27.5 cm
Others:
PVC pipe glue
Sandpaper (150 grit)
Matte black plastic spray paint
Acrylic base (from LCD monitor stand...)
Metal base (from LCD monitor stand...)
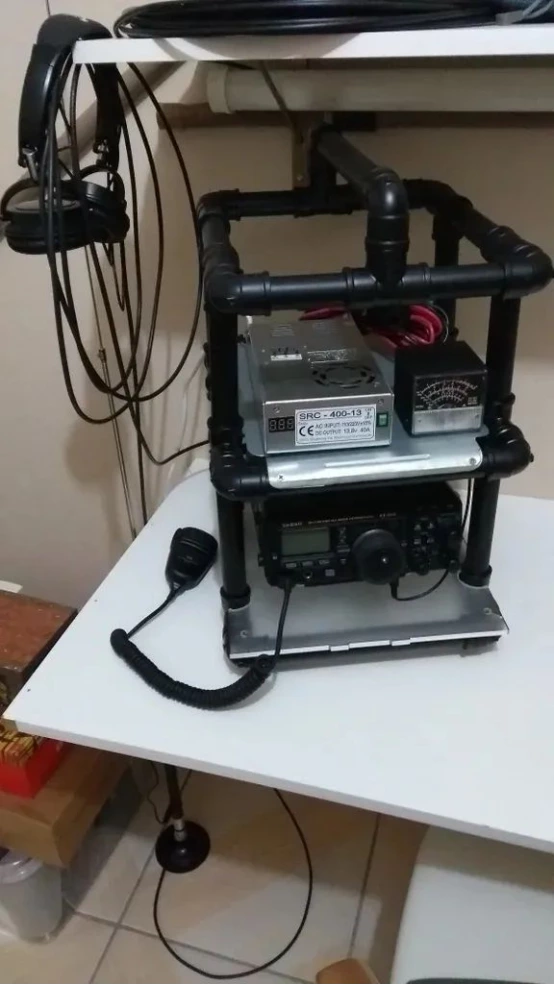
Step 3: Play the Lego Game...
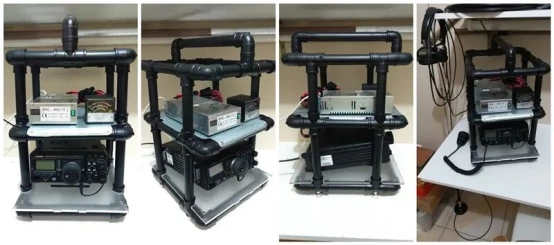
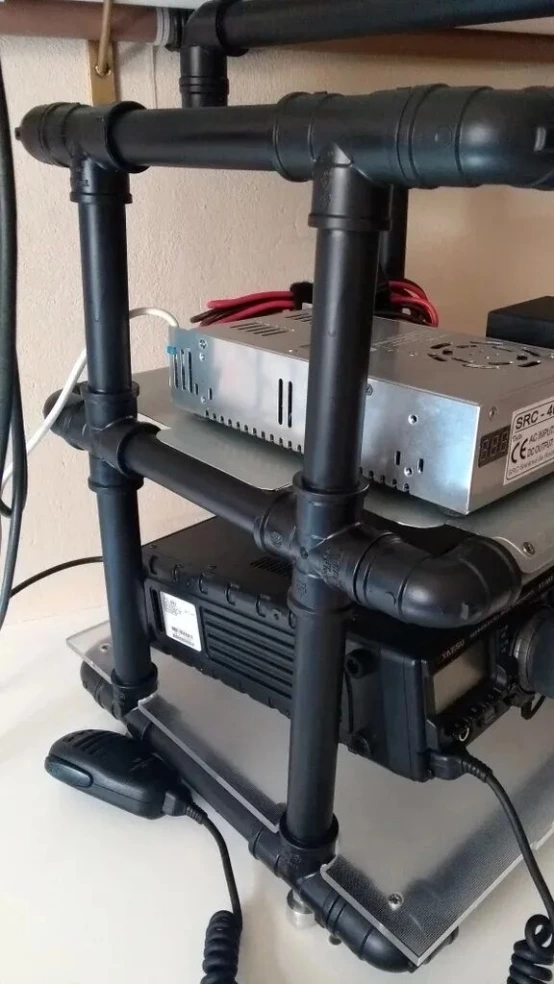
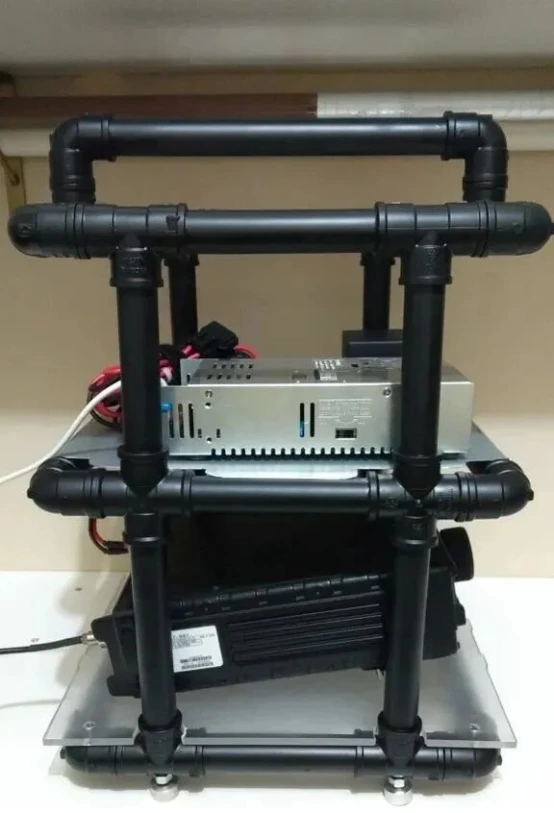
After that, it’s just assembling everything together in the best "Lego-style" way: it took hours of routine work—"measure, cut, sand, glue, install, hit with a rubber mallet to connect the pipe to the end, then quickly align and install before the glue dries, and so on..." (repeated about 150 times...).
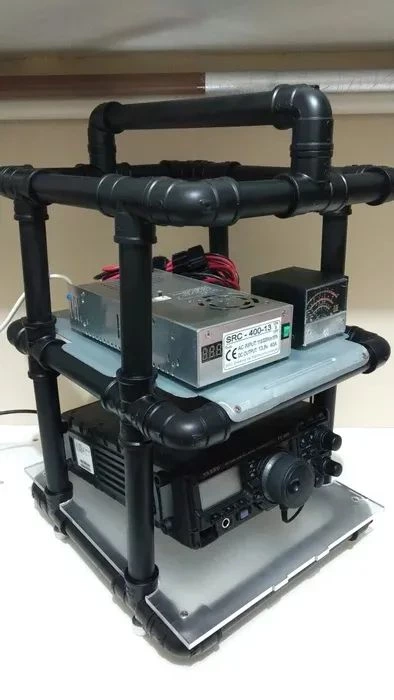
The photos say it all, but I think the work was worth it.
Step 4: Make the Base and Machine Foot Pads
Base:
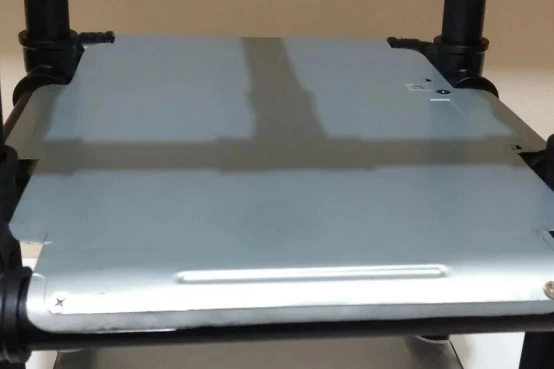
Finally, I rounded the corners of the base to make it fit better on the sides, and made it protrude slightly on both the front and back surfaces, which made the appearance more attractive.
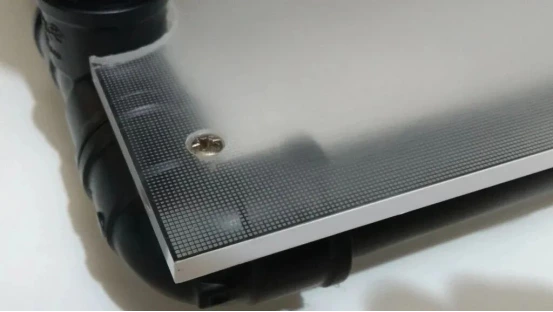
The bottom base is the acrylic sheet mentioned at the beginning of the article. It ended up being even better because it is heavier (3.9 kg, according to the manual). During assembly, I tightened the screw at one of the corners too much, which caused the acrylic to crack in the end, but it didn’t have any major impact.
Both bases were directly fixed to the pipes with only 4 screws each (I chose screws with deeper threads because I was worried that thinner threads would damage the PVC).
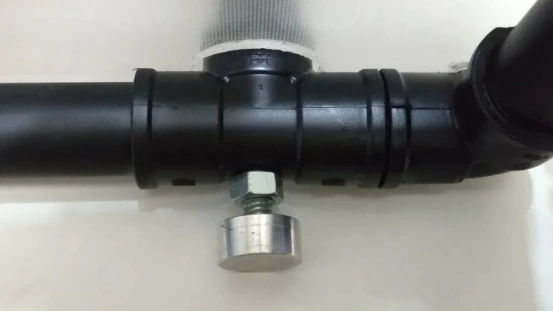
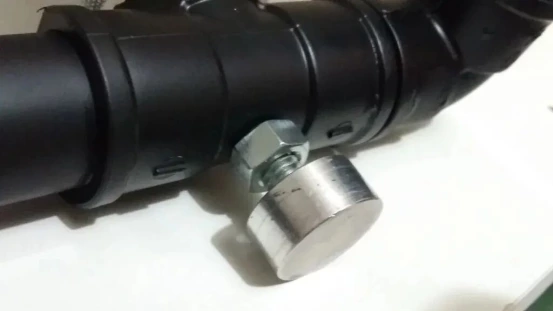
Foot Pads:
There were no "feet" to be placed at the bottom of the base in the original plan: I missed them when I noticed the base was not perfectly aligned (even though it wasn’t supposed to be...).
I found some handles from a piece of furniture in my parts box. Since they only had threads, I drilled holes in the bottom of the base and screwed the handles on (I used nuts more like locks, as shown in the figure...).
Step 5: Details and Next Steps...
There are still a few things that need to be done:
# The top base will be painted, but I haven’t finished this yet. This is because I plan to drill holes through both bases to allow the Velcro (used for securing the equipment) to pass through, which prevents the equipment from falling off during transportation.
I will install a microphone stand at one of the upper corners and place it on the right side so that the wires do not touch the floor.
The plan also includes supporting one or two radios on the top.
Final completed diagram: